Screw Piles for Fencing: Complete Guide to Selection, Calculation and Installation in 2025
Generic selectors
Exact matches only
Search in title
Search in content
Post Type Selectors

Screw Piles for Fencing: Complete Guide to Selection, Calculation and Installation in 2025

September 15, 2025
4  

Building a fence is one of the key stages in developing any property. However, traditional foundation methods, particularly concrete pouring, are often associated with significant difficulties: large-scale earthworks, extensive mess, dependence on weather conditions, and the impossibility of quality work during cold seasons. Sites with complex terrain, slopes, or weak, water-saturated soils add particular complications, where standard solutions prove ineffective or too expensive.

Against the backdrop of these challenges, screw pile technology is gaining increasing popularity—a modern engineering solution that allows avoiding most problems associated with concrete work. A screw pile is not just a metal pipe with a screw at the end, but a carefully calculated structure, invented back in the 19th century for building lighthouses and piers on difficult soils, and today adapted for a wide range of tasks in private construction.

This guide provides a comprehensive analysis of screw pile technology for fence foundations. It examines in detail the construction and operating principles of piles, their advantages and disadvantages, and provides step-by-step instructions for selection, calculation, and self-installation. The goal of this material is to provide property owners and builders with all the necessary information to make an informed decision that will save time, money, and avoid common mistakes when creating a durable and reliable fence.

Section 1: What Are Screw Piles and How Do They Work?

1.1. Anatomy of a Screw Pile: An Engineering Perspective

A screw pile is a complex engineering structure where each element performs a specific function to ensure maximum foundation reliability.

  1. Shaft (Pipe): This is the main load-bearing element that transfers loads from the fence deep into the soil. Shaft quality is determined by steel grade and wall thickness. For durable structures, it’s recommended to use seamless pipes manufactured according to state standards such as DSTU 8940:2019 or DSTU EN 10219, as they have no welded seam, which is a potential zone of weakness and corrosion.
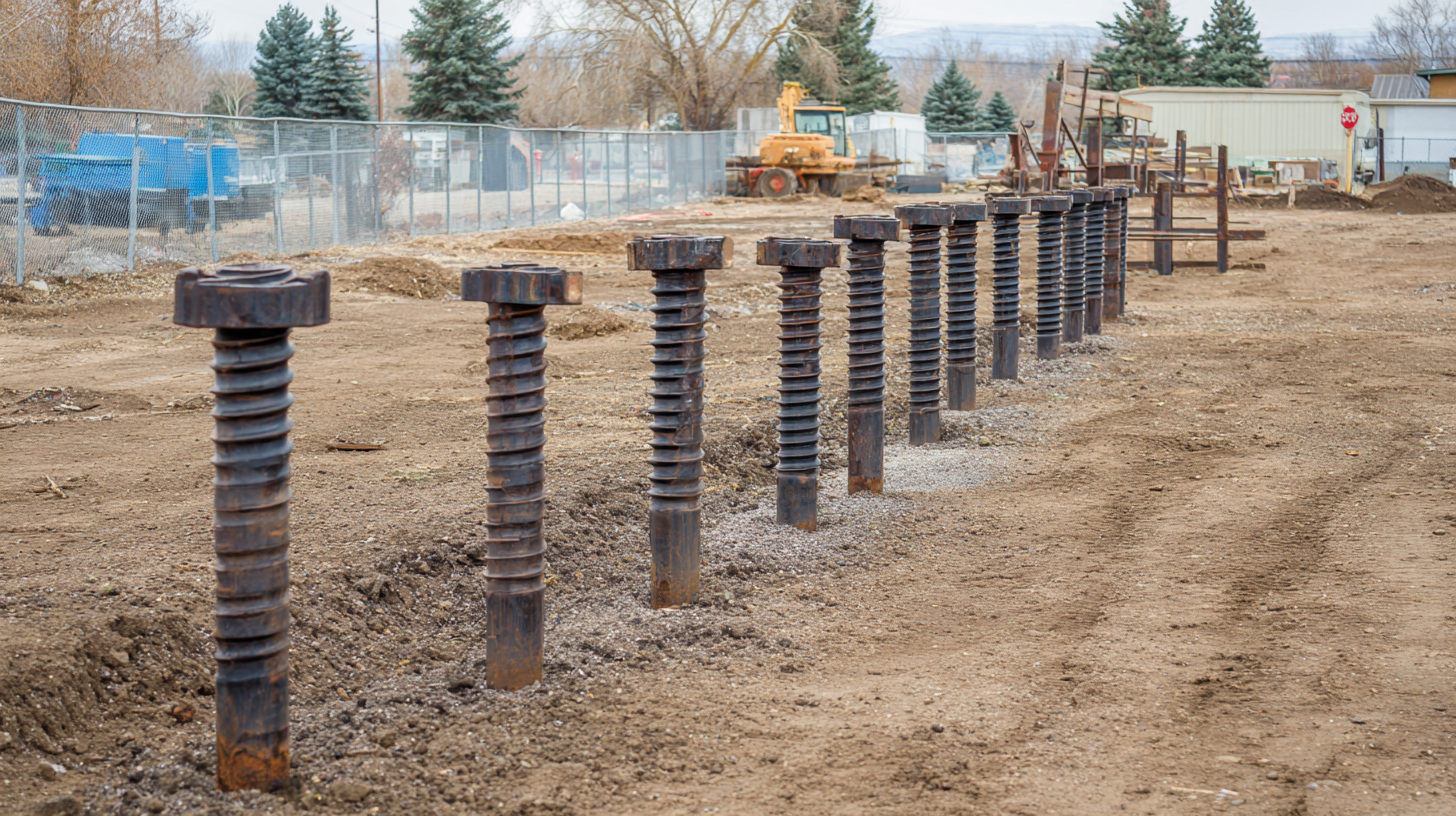
  2. Blade (Helix): This is the key functional element responsible for securing the pile in the soil and its bearing capacity. During screwing, the blade compacts the soil beneath it, creating a solid support platform. Blade geometry—its diameter, thickness, and helix pitch—is carefully calculated for effective operation in different soil types.
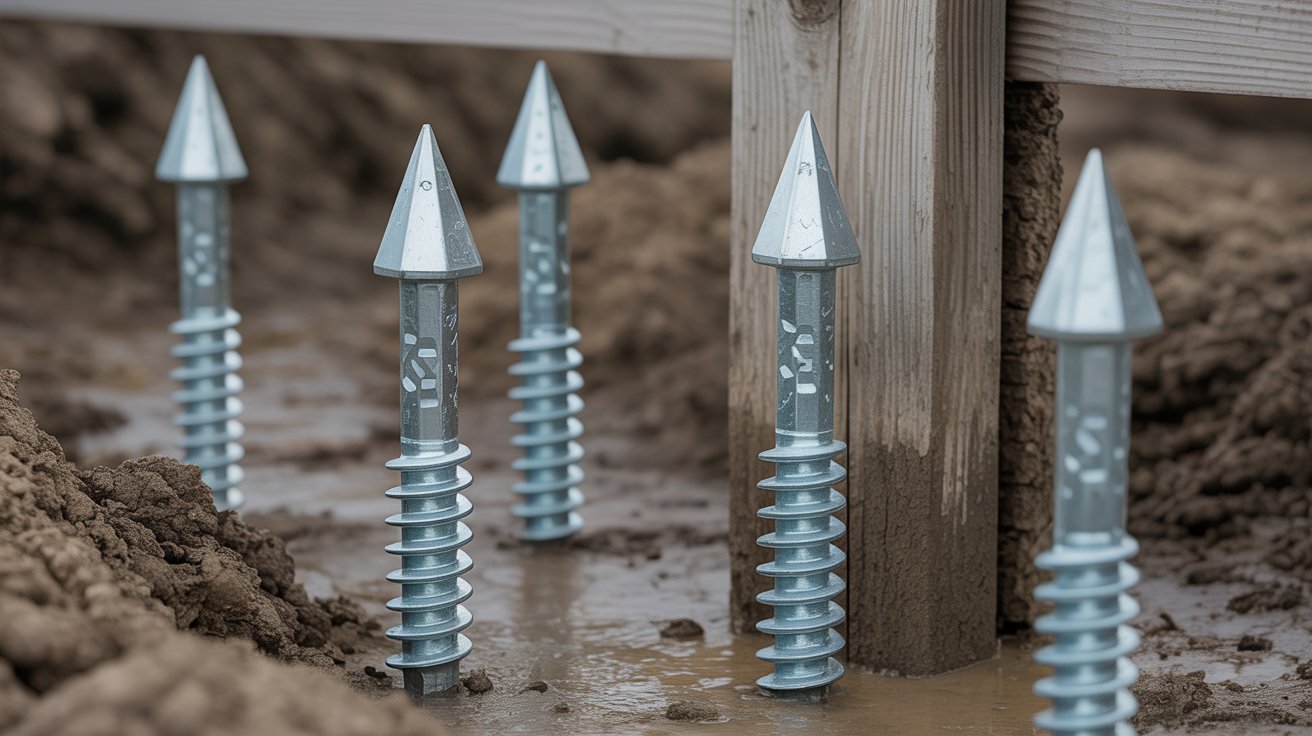
  3. Tip: The pointed end part of the pile that facilitates its penetration into the soil. Tip construction is a critical reliability factor. It can be welded (cheaper but less reliable) or cast (significantly stronger and more resistant to damage when passing through dense soil layers).
  4. Cap: The upper element of the pile designed for attaching the fence post or other structural elements (for example, a grillage). Caps come in various forms: flat square or hexagonal flanges for welding posts, U-shaped for attaching wooden beams, or the pile can be without a flange for installing the post inside the pipe.

1.2. Operating Principle: Physics in Service of Strength

The key difference and main advantage of screw piles lies in the unique way they interact with soil. Unlike concrete work, which requires digging holes and thus disturbing the natural soil structure, a screw pile during installation does not loosen but compacts the soil around it. This process creates a zone of increased density around the shaft and under the blade, significantly increasing the bearing capacity of the entire system.

According to building codes, screw piles can operate on two main principles:

  1. End-bearing pile: This principle is realized when the pile blade reaches a deep, dense, and stable soil layer (for example, hard clay or dense sand). In this case, the main load from the fence is transferred through the shaft and blade directly to this bearing layer, ensuring maximum stability.
  2. Friction pile: This mechanism is applied on sites with weak soils (peat, sandy loam) where the bearing layer lies very deep. Here the pile is held in the soil not by bearing on a solid foundation, but by friction forces arising between the surface of the shaft and blades and the compacted soil around them.

The principle of soil compaction is the root cause of most advantages of this technology. The screwing process creates radial soil compaction around the shaft, increasing its resistance and friction coefficient. This not only increases bearing capacity but also creates a strong “lock” that effectively counteracts frost heaving forces—the process of pushing the foundation out of the soil during freezing and expansion. Since soil is not removed, there’s no need for its disposal, preserving the site’s landscape and significantly reducing the scope of work.

1.3. Classification of Screw Piles: What’s Behind the Name

For proper pile selection, it’s important to understand their classification by key design features.

By tip type:

  1. Welded: The most common and budget option. The blade is manufactured separately and welded to the shaft. The main risk lies in weld quality. Poor connection may not withstand loads during screwing in dense soil or when encountering an obstacle, which can lead to blade separation. When choosing such piles, it’s necessary to verify weld compliance with quality standards, for example DSTU ISO 5817:2016.
  2. Cast: The tip together with the blade is cast as a single part, which is then welded to the pipe. This is a significantly more reliable design as it has no weak points on the blade itself. Cast tips better withstand high loads, are more corrosion-resistant, and are recommended for critical structures and difficult soil conditions.

By blade configuration:

  1. Wide-blade (single-helix): This is the classic design with one or two wide blades near the tip. They have a large bearing area and are an ideal choice for weak, loose, or water-saturated soils where it’s necessary to maximally distribute loads and reliably “anchor.”
  2. Narrow-blade (multi-helix, “geoscrews”): Such piles look like a large self-tapping screw with a narrow spiral blade running along a significant part of the shaft. This design allows easier passage through dense, clayey soils, as well as soils with small stone inclusions. They provide high bearing capacity due to strong soil compaction along the entire length of the helical part.
Vintovyye Svai dlya Zabora 3

Section 2: Advantages and Disadvantages: When Are Screw Piles the Ideal Solution?

2.1. Key Advantages: Why Builders Choose Screw Piles

Screw pile technology offers a number of significant advantages that make it an attractive alternative to traditional concrete work.

  1. Time savings: Foundation installation for a medium-sized fence can be completed in one working day, unlike concrete work that requires time for earthworks, pouring, and a long strength-gaining period (up to 28 days). A foundation on screw piles is ready for full loading immediately after installation.
  2. All-season capability: Installation can be performed at any time of year and in any weather conditions, including sub-zero temperatures. Frozen soil is not an obstacle to screwing, while concrete work in winter requires expensive frost-resistant additives and special heating methods.
  3. Versatility for complex sites: Screw piles are a practically irreplaceable solution for sites with complex terrain, large elevation differences, on slopes, as well as on weak, swampy soils or with high groundwater levels. Pile length easily compensates for irregularities, ensuring reliable support.
  4. Environmental friendliness and cleanliness: The installation process doesn’t involve large-scale earthworks, excavation, and soil removal. This allows preserving the existing landscape, including lawns, trees, and paths, as well as avoiding dirt and construction waste on the site.
  5. Reliability and durability: With proper calculation and installation, one pile can withstand loads from 2 to 5 tons and more. Since the pile is installed below the soil freezing level, it’s reliably protected from frost heaving forces, which is one of the main causes of traditional foundation deformation. The service life of quality piles with proper anti-corrosion coating can reach 100 years.
  6. Mobility: Screw piles can not only be installed but also dismantled (unscrewed) and reused in a new location. This makes them an ideal solution for temporary fences or structures.

2.2. Limitations and Potential Disadvantages: What Sellers Don’t Talk About

Despite numerous advantages, screw pile technology has its limitations and risks that must be considered.

  1. Soil limitations: Screw piles cannot be installed on rocky and stony soils where the blade cannot penetrate the rock. Problems can also arise on soils with large amounts of construction debris or tree roots.
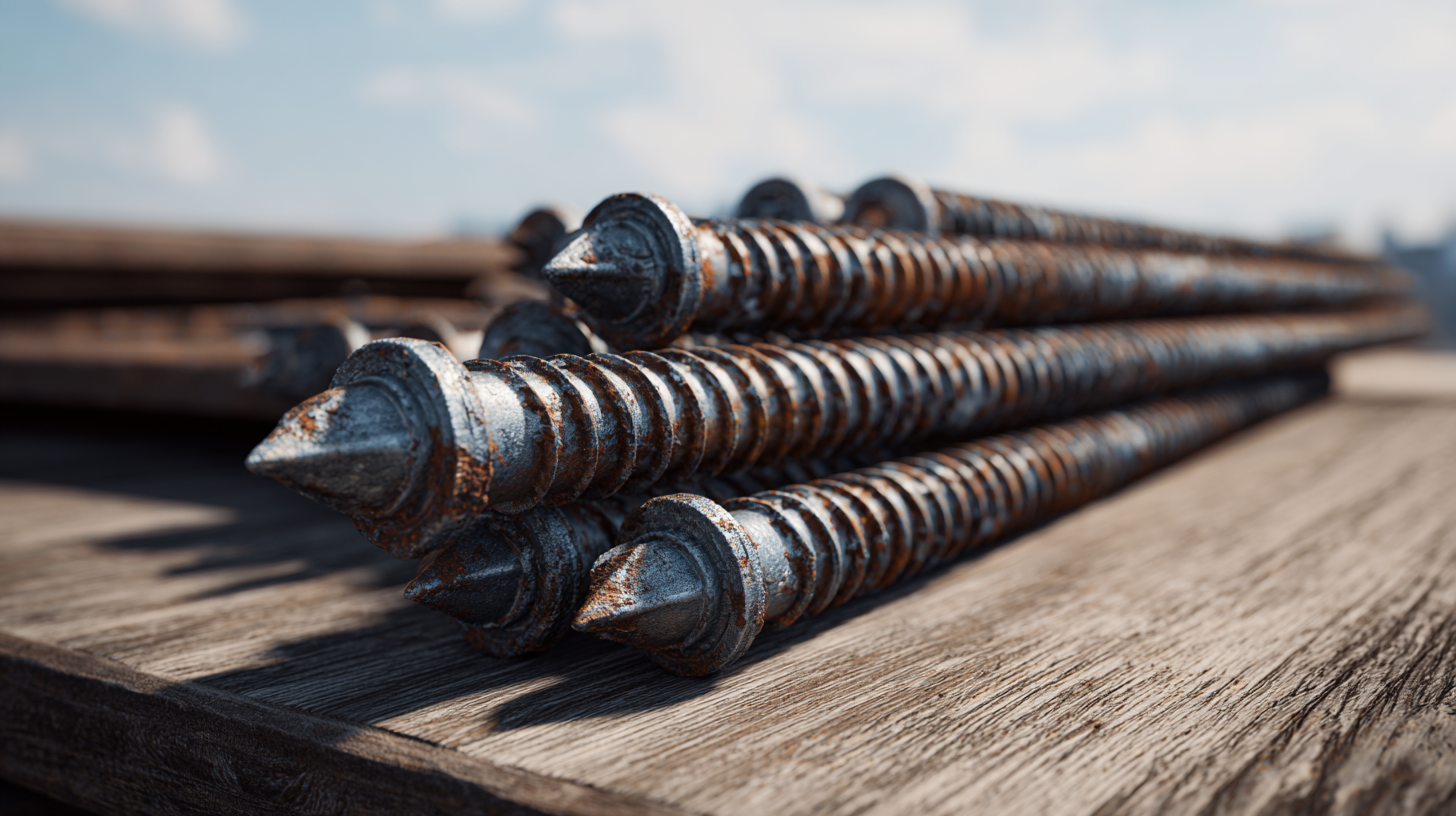
  2. Susceptibility to corrosion: Being a metal product, the pile is subject to corrosion in aggressive soil environments. Foundation durability directly depends on metal thickness, steel quality, and most importantly, the type and integrity of anti-corrosion coating.
  3. Risk of poor quality products: The technology’s popularity has led to the appearance of cottage industry products on the market. Such piles are often made from thin-walled seamed pipes, low-quality steel, and with violations of welding technology. Using such products is extremely risky as they can deform during installation or quickly deteriorate in soil.
  4. Accuracy requirements for installation: For proper load distribution and structural stability, piles must be installed strictly vertically. Even a small deviation from the axis can lead to fence deformation over time.

Special attention should be paid to the invisible enemy—corrosion. The service life of 50-100 years claimed by manufacturers is achieved only with quality materials and favorable conditions. In reality, pile durability is a function of three variables: pile quality, soil aggressiveness, and installation quality. The pile is constantly in a humid environment with oxygen, salts, and various acidity levels (pH), creating ideal conditions for corrosion processes. The most vulnerable places are welded seams and areas where protective coating was damaged during transportation or screwing. Cheap coating such as ordinary paint or thin zinc layer quickly deteriorates, especially in acidic soils. As a result, the pile begins losing wall thickness, its bearing capacity decreases, and after 10-15 years the foundation may settle. Therefore, saving on pile quality, particularly refusing hot-dip galvanizing in favor of cheaper alternatives, is false economy that can lead to significantly higher costs in the future.

Vintovyye Svai dlya Zabora 1

Section 3: Proper Selection of Screw Piles for Your Fence (Practical Guide)

Proper selection of screw pile parameters is the key to durability and reliability of your fence. The selection process consists of four sequential steps.

3.1. Step 1: Assessing Fence Loads

First, it’s necessary to understand what loads will act on the foundation.

  1. Vertical load: This is the total weight of the fence structure—posts, sections, fasteners. For light fences (mesh, picket) it’s insignificant, but for heavy wrought iron fences or fences with brick posts it must be considered.
  2. Horizontal (wind) load: This is the most important parameter for fences with solid infill, such as profiled sheet, polycarbonate, or solid wooden sections. Such fences work as a “sail,” creating significant foundation load that tries to tilt or pull the post out of the ground. Approximate wind pressure force can be calculated using the formula: F=0.61×V²/9.8, where F is force in kilogram-force per square meter (kgf/m²), and V is wind speed in meters per second (m/s). Underestimating wind load is a common mistake leading to fence deformation during the first strong wind.

3.2. Step 2: Selecting Optimal Pile Diameter

Pile shaft diameter directly affects its bearing capacity and resistance to bending loads. Diameter choice depends on fence type and expected loads.

Table 1: Recommended screw pile diameter for different fence types

Fence Type Weight (approx., kg/lin.m.) Wind Load Recommended Pile Diameter, mm Pile Bearing Capacity, kg
Chain-link, welded mesh 5-10 Low 57 up to 1000-1450
Wooden picket 15-25 Medium 57 – 76 1000 – 2160
Profiled sheet (up to 2m height) 20-30 High 76 – 89 2160 – 3340
Metal picket, louvre 25-40 Medium/High 76 2160
Wrought sections (light) 30-50 Low/Medium 76 – 89 2160 – 3340
Fence with brick posts Post weight > 500 kg Medium 89 – 108 (for posts) 3340 – 5000+

3.3. Step 3: Calculating Required Pile Length

Pile length is a critically important parameter on which foundation resistance to frost heaving depends. It’s calculated based on three key factors.

  1. Factor #1: Soil freezing depth. This is the main reference point. The screw pile blade must be located below the maximum soil freezing depth in your region. This guarantees that the foundation won’t be pushed out of the ground in winter.

Table 2: Standard soil freezing depth by Ukrainian regions (according to DBN data)

Region Freezing Depth, m
Kyiv 0.9 – 1.2
Chernihiv 1.1 – 1.2
Kharkiv 1.0 – 1.2
Sumy 1.1 – 1.4
Luhansk 1.2 – 1.6
Lviv 0.8 – 1.0
Ivano-Frankivsk 0.7 – 0.9
Zakarpattia 0.4 – 0.5
Odesa 0.5 – 0.9
Kherson 0.4 – 0.5
  1. Factor #2: Soil type. It’s necessary for the pile blade to anchor in dense, bearing soil layer. For this, simplified geological exploration can be conducted: dig a test pit 0.5-1 m deep or use a garden auger to determine at what depth dense clay or sand begins.
  2. Factor #3: Site relief. On sloped sites, piles installed at lower points should be longer by the amount of elevation difference to ensure a single horizontal level of pile tops.

General formula for calculating pile length:

L = H_freezing + H_penetration_into_bearing_layer + H_base + H_relief_difference + H_cutting_reserve

where:

  • H_freezing — standard freezing depth (from Table 2)
  • H_penetration_into_bearing_layer — minimum 20-30 cm
  • H_base — pile height above ground (usually 15-30 cm)
  • H_relief_difference — height difference for specific point
  • H_cutting_reserve — 10-20 cm for final leveling

3.4. Step 4: Choosing Protective Coating for Maximum Durability

The service life of a metal pile in soil directly depends on the quality of its anti-corrosion protection.

  1. Basic protection (primer paint): The simplest and cheapest option. Provides minimal protection and is suitable only for temporary fences or in very dry, non-aggressive soils.
  2. Polymer coatings (epoxy, polyurethane): Create a strong, waterproof layer that well protects against moisture and chemicals in soil. An important condition is maintaining coating integrity during installation.
  3. Hot-dip galvanizing (according to DIN EN ISO 1461): This is the most reliable and durable protection method. The pile is completely immersed in a bath of molten zinc, creating a thick (45-85 μm) and strong coating. Zinc provides not only barrier but also electrochemical (cathodic) protection, “sacrificing” itself to preserve steel even with local damage. Such coating guarantees a service life of 50 years and more.
  4. Double protection (zinc + polymer): Combined method providing maximum protection. Used in particularly aggressive soils (for example, with high acidity or salinity) and can extend pile service life to 100-120 years.

Section 4: Calculating Pile Quantity and Spacing

4.1. Determining Optimal Spacing (Distance) Between Piles

Pile installation spacing is the distance between centers of adjacent supports. Its proper selection ensures uniform load distribution and rigidity of the entire fence structure.

  1. General rule: For most fence types, optimal spacing between piles is from 2 to 3.5 meters.
  2. For light fences: For chain-link, welded mesh, or non-solid picket fences that have low weight and wind resistance, maximum spacing of 3 – 3.5 m is acceptable.
  3. For fences with high wind load: For solid fences made of profiled sheet, polycarbonate, or metal louvre, spacing must be reduced to 2 – 2.5 m. This prevents deformation of horizontal rails and post loosening under strong wind action.

4.2. Practical Calculation of Pile Quantity for Site

To calculate total pile quantity, follow a simple sequence:

  1. Measure the total perimeter of the future fence.
  2. Always provide for piles at all site corners and on both sides of gates and wickets.
  3. For each straight fence section (for example, from corner to gate), divide its length by chosen spacing (for example, 2.5 m). Round the resulting number up—this will be the number of spans. The number of intermediate piles will be one less.
  4. Sum the number of corner, gate, and intermediate piles to get the total quantity.

The standard calculation approach may result in the last span in a section being shorter than others, disrupting fence aesthetics. To avoid this and achieve perfectly uniform sections, a different method is recommended. First, fixed points (corners, gates) are determined, and exact distance between them (L) is measured. Then, based on recommended spacing (for example, ~2.5 m), desired number of spans (N) is determined. For example, for a 24 m section, desired span number would be 10 (24/2.5≈9.6). Then exact, equal spacing for the entire section is calculated using the formula: Spacing = L/N. In our example, this would be 24/10 = 2.4 m. This approach guarantees that all fence sections on a straight line will be absolutely equal length, significantly improving visual perception.

Vintovyye Svai dlya Zabora 1

Section 5: Installation Technology: Step-by-Step “Do It Yourself” Instructions and Professional Tips

5.1. Preparation and Tools

Manual screw pile installation doesn’t require complex equipment. The necessary tool set includes:

  1. For marking: rope, wooden or metal stakes, measuring tape.
  2. For installation: strong lever (this can be a 2.5-3 m metal pipe or crowbar), builder’s level (ideally magnetic that attaches to the pile), angle grinder with metal cutting disc for pile trimming, welding machine (if planning to weld caps and posts).

5.2. Step-by-Step Manual Installation Process

Following the correct sequence of actions is key to quality results.

  1. Step 1: Marking. Using stakes and rope, accurately mark fence axes and installation points for each pile according to calculated spacing on the site.
  2. Step 2: Leader hole. At each marked point, dig a small guide hole 10-15 cm deep. This helps accurately position the pile at the initial stage and prevent its displacement.
  3. Step 3: Screwing. Install the pile vertically in the hole. Insert the lever into special technological holes in the upper part of the pile. Two people, pressing on the lever, begin screwing the pile clockwise. Critically important: After every 20-30 cm of rotation, stop and check pile verticality using a level in two mutually perpendicular planes. Minor deviations are corrected by applying pressure to the pile in the required direction.
  4. Step 4: Depth control. Continue screwing until reaching calculated depth. A signal that the blade has reached dense bearing soil layer will be a sharp increase in rotation resistance.
  5. Step 5: Horizontal leveling. After all piles are installed, determine a single horizontal level for their tops. This is done using a laser or water level. Corresponding marks are made on each pile.
  6. Step 6: Cutting. Using an angle grinder, all piles are cut along marked lines to a single level.
  7. Step 7: Concreting (recommended). After cutting, it’s recommended to fill the internal cavity of each pile with concrete mix. This serves two important functions: first, it displaces air and moisture, protecting the inner pipe wall from corrosion; second, it significantly increases pile strength and rigidity, enhancing its resistance to bending loads from wind.

5.3. Attaching Fence Post to Pile

There are several ways to reliably connect a fence post to a screw pile:

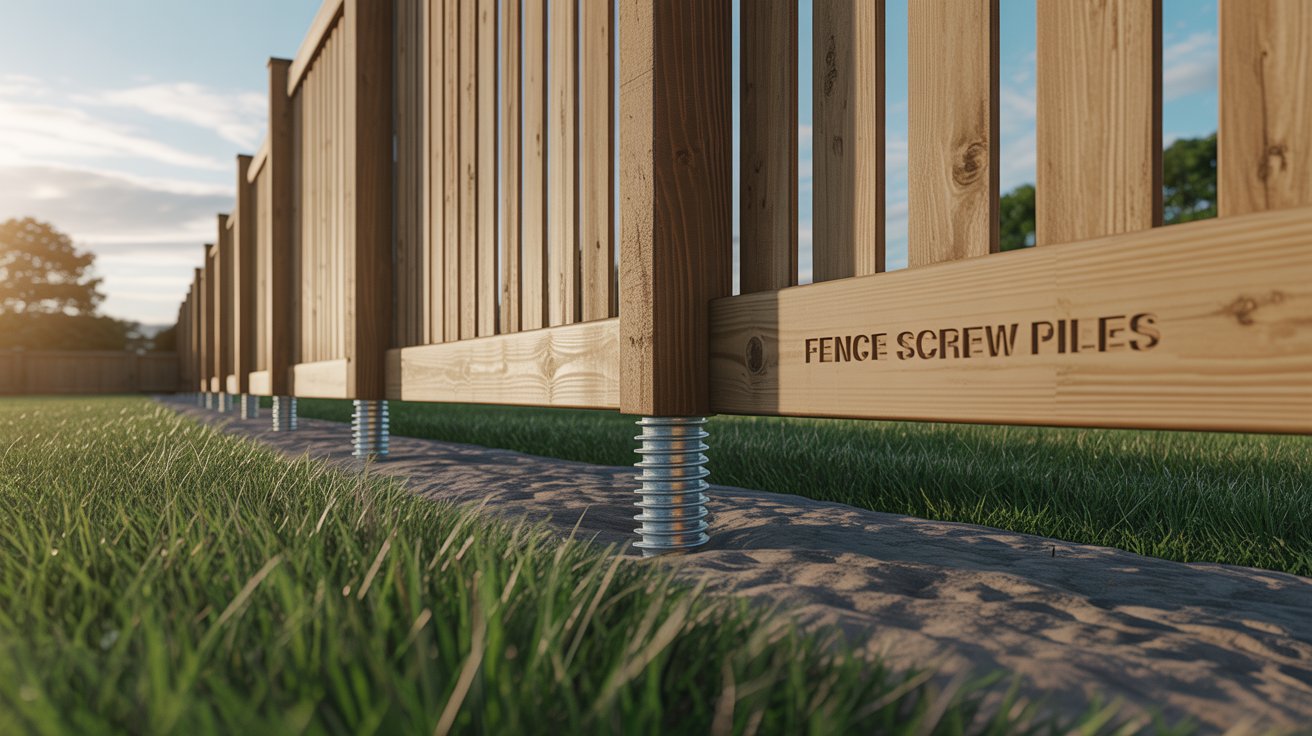
  1. Through cap: A flat cap (flange) is welded or bolted to the upper part of the pile. The fence post is then welded or attached to this flange. This is the most reliable method.
  2. “Cup in cup”: If the fence post diameter allows, it can be inserted directly inside the screw pile. Fixation occurs either by concrete filling or by welding around the perimeter.

5.4. Mechanized Installation

For large projects or when installing large diameter piles, mechanized installation is advisable. It’s performed using a hydraulic auger (hydraulic rotator) mounted on a mini-excavator, manipulator, or other specialized equipment.

Advantages:

  1. High speed: Installing one pile takes only 3-5 minutes.
  2. Power: High torque allows easy screwing of large diameter piles even in very dense soils.
  3. Accuracy: Modern equipment ensures high positioning and verticality accuracy.
Vintovyye Svai dlya Zabora 2

Section 6: Economic Analysis: What’s Cheaper – Screw Piles or Concrete?

When comparing the cost of screw pile foundation versus traditional concrete, it’s important to consider not only direct material costs but also labor costs, time, and other hidden factors.

6.1. Components of Screw Pile Foundation Cost

  1. Pile cost: Price depends on diameter, length, wall thickness, and coating type. For example, a 76 mm diameter, 2 m long pile can cost from 900 to 1500 UAH per piece.
  2. Cap cost: Depending on size and design, price ranges from 200-350 UAH per piece.
  3. Installation cost: Market prices vary. Mechanized installation costs on average 500-700 UAH per linear meter of pile. Manual installation may be cheaper but requires more time.

6.2. Components of Concrete Foundation Cost

  1. Materials: Cost of metal post, sand, gravel, and cement. A material set for concreting one post costs approximately 200-325 UAH.
  2. Labor: Includes drilling or digging holes, preparing concrete mix, and pouring. Turnkey installation of one post can cost from 400 to 1000 UAH.

6.3. Comparative “Turnkey” Calculation

For objective comparison, consider an example calculating foundation cost for a 50-meter profiled sheet fence. With recommended 2.5 m spacing, 21 posts will be needed.

Table 3: Foundation cost calculation for 50 meters of profiled sheet fence (21 posts)

Cost Item Screw Pile Foundation Concrete Foundation Comment
Materials
Piles / Posts (21 pcs) 21 × 1200 UAH = 25200 UAH 21 × 400 UAH = 8400 UAH Piles significantly more expensive than posts
Caps (21 pcs) 21 × 250 UAH = 5250 UAH Additional cost for piles
Concrete mix 21 × 50 UAH = 1050 UAH (for internal filling) 21 × 300 UAH = 6300 UAH
Total materials 31500 UAH 14700 UAH
Labor
Pile installation (mechanized) 21 × 500 UAH = 10500 UAH
Earthwork (drilling/digging) 21 × 200 UAH = 4200 UAH
Concreting (included in installation) 21 × 250 UAH = 5250 UAH
Soil removal ~2000 UAH Not needed for piles
Total labor 10500 UAH 11450 UAH
Total cost 42000 UAH 26150 UAH At first glance, concrete is cheaper
Hidden costs and benefits
Execution time 1 day 3-5 days + 2 weeks for strength gain Speed saves money
Seasonality None Cold season limitations Planning flexibility
Landscape preservation Complete Damage to lawn, paths Restoration savings

Comparison conclusion: In terms of direct material and labor costs, concrete foundation on simple soils may prove cheaper. However, when considering work execution speed, absence of seasonal limitations, landscape preservation, and most importantly, reliability on complex soils (slopes, high groundwater level), screw piles often become a more profitable and justified solution in the long term.

Section 7: Common Mistakes and How to Avoid Them

Quality and durability of screw pile foundation depends on avoiding common mistakes during planning and installation.

  1. Mistake 1: Insufficient penetration depth. The most critical mistake. If the pile blade remains in the freezing zone, frost heaving forces will inevitably push it up in winter, leading to fence deformation and distortion. How to avoid: Always penetrate 20-30 cm below the standard freezing depth for your region.
  2. Mistake 2: Strong deviation from vertical. Even a small pile tilt leads to improper load distribution and creates eccentricity that weakens the entire structure. How to avoid: Constantly monitor verticality using a level in two planes throughout the screwing process.
  3. Mistake 3: Attempting to “break through” an obstacle. Applying excessive force when encountering stone or other obstacle can damage the blade, weld seam, or deform the shaft, completely nullifying the pile’s bearing capacity. How to avoid: If the pile hits an obstacle, it must be unscrewed. If the obstacle cannot be removed, the installation point should be shifted 20-30 cm aside.
  4. Mistake 4: Saving on pile quality. Using cheap piles from unverified manufacturers is a direct path to problems. Thin metal, poor steel, bad welding, and weak anti-corrosion coating will lead to rapid foundation deterioration. How to avoid: Choose products from known manufacturers who provide quality certificates for steel and coating. For long-term structures, prefer piles with cast tips and hot-dip galvanizing coating.
  5. Mistake 5: Incorrect spacing calculation. For high wind-resistance fences (for example, profiled sheet), installing piles with 3 m spacing or more will lead to horizontal rail deformation and post loosening under wind action. How to avoid: For solid-fill fences, maintain recommended spacing of 2-2.5 m.

Conclusions

Screw piles are a modern, efficient, and reliable technology for fence foundation installation that offers significant advantages over traditional concrete work, especially on sites with complex geological conditions or when quick all-season installation is needed. They provide high bearing capacity, frost heaving resistance, and minimal landscape impact.

Successful application of this technology is based on three fundamental principles:

  1. Proper calculation: Careful selection of pile diameter, length, and spacing based on analysis of fence type, wind loads, freezing depth, and soil characteristics.
  2. Quality materials: Selection of certified piles from verified manufacturers, made from quality steel, with reliable anti-corrosion coating (preferably hot-dip galvanizing) and strong (preferably cast) tip.
  3. Precise installation: Strict adherence to screwing technology, particularly ensuring required penetration depth and perfect verticality of each support.

For making a final decision on foundation type selection for fencing, following this checklist is recommended:

  1. Assess conditions: Analyze soil type and site terrain.
  2. Determine loads: Consider weight and, more importantly, wind resistance of the future fence.
  3. Perform calculations: Using instructions and tables provided in this guide, calculate optimal parameters and pile quantity.
  4. Compare costs: Evaluate full “turnkey” project cost, considering not only material prices but also work speed and other associated benefits.
  5. Quality priority: Regardless of choice, pay maximum attention to material quality and adherence to installation technology, as foundation durability and reliability depend on this.
author
About the author:

A qualified expert in metal structures from the Mehbud factory. Work experience, excellent knowledge of the production process, construction market, and latest technologies allow me to assist clie...

More
0 0 votes
Article Rating
Subscribe
Notify of
guest
0 Comments
Oldest
Newest Most Voted
Inline Feedbacks
View all comments